Monday, April 14, 2008

French Legere

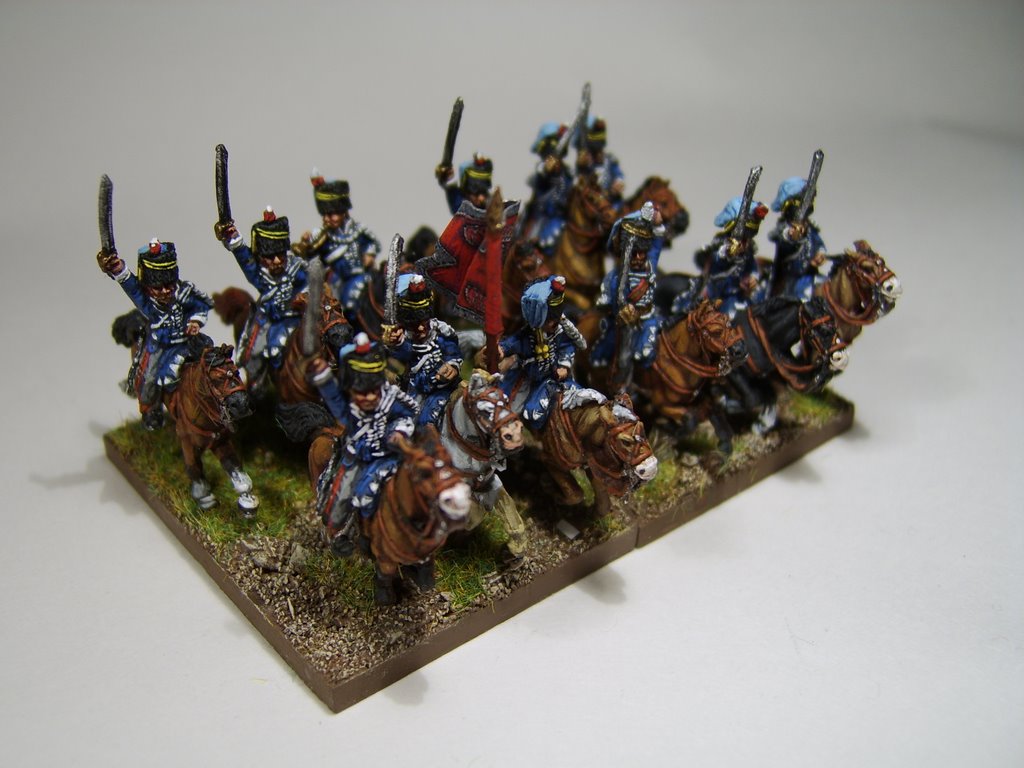
I've been asked to provide an opinion about OG French Legere figures. I like the figures, but the offering is VERY limited. Either the figures come charging, or skirmishing. Also, elite companies are not offered with plumes. The picture below shows an Old Glory Legere battalion charging.


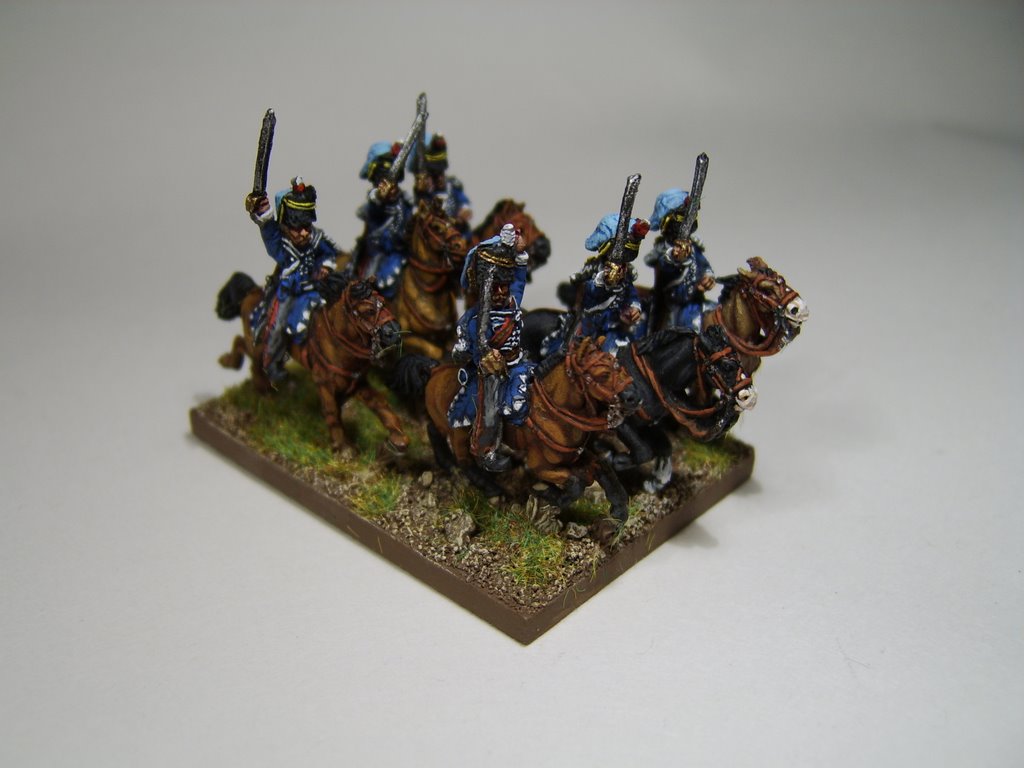
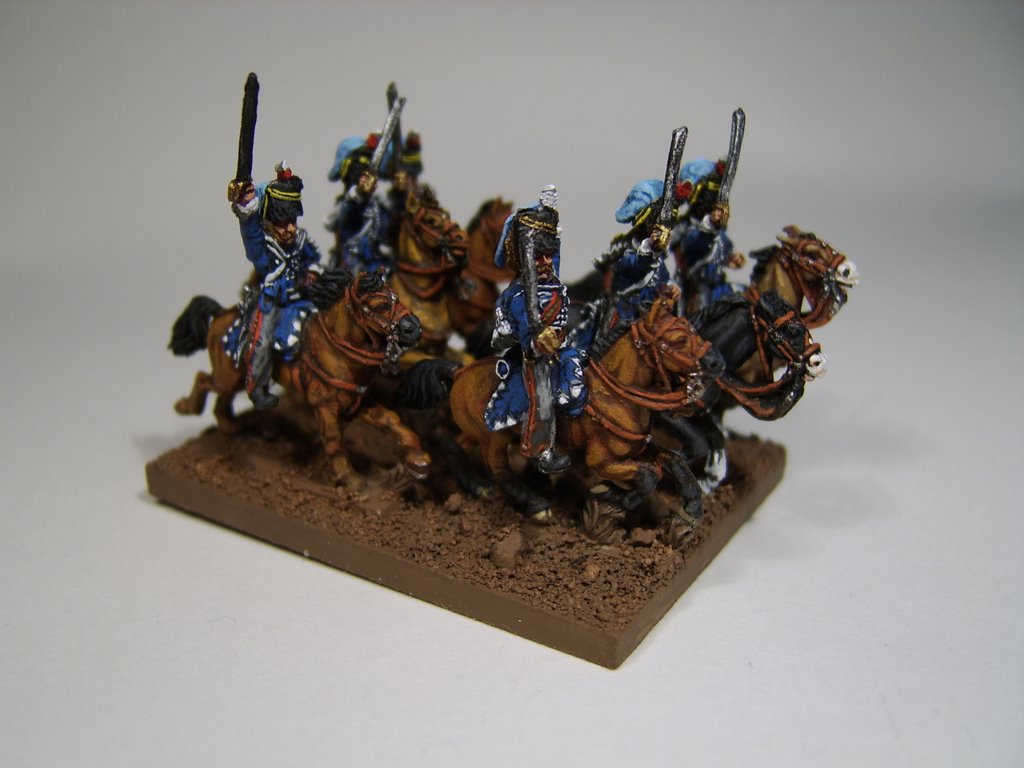
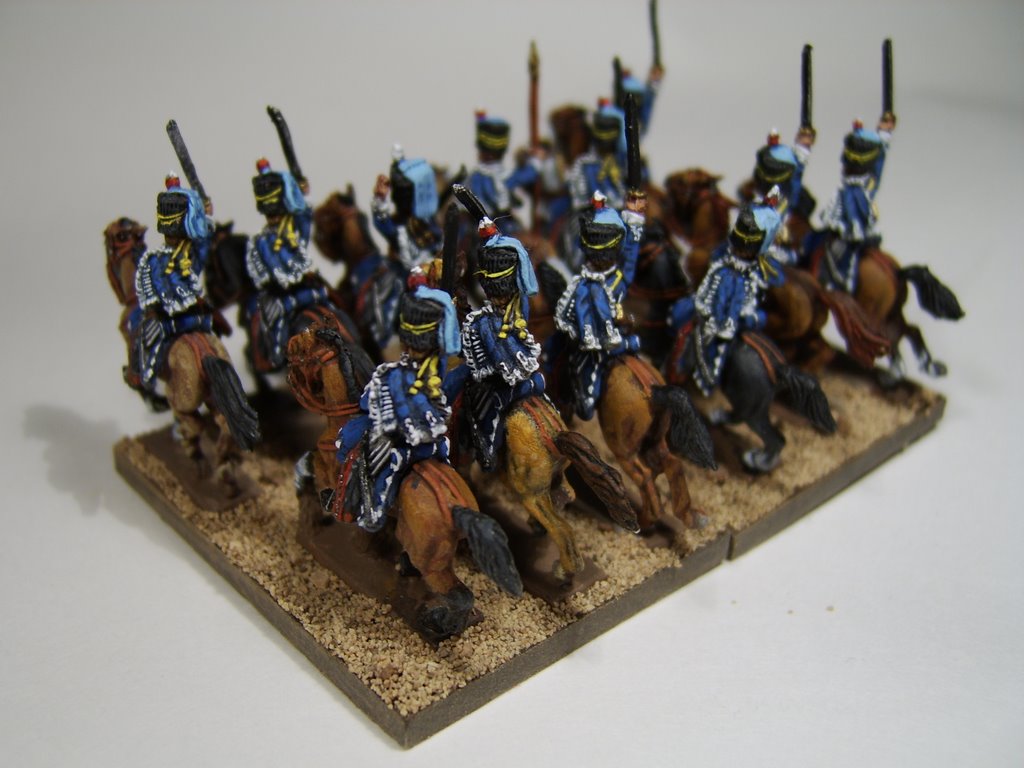
By contrast, the AB line offers a different range. Below are pictures of AB Legere marching - I prefer this pose because of the way I store and transport the figures, plus the Old Glory figures make it tough to form columns when the stands don't fit together. AB also has figure variations for elite companies, which is also nice.


Monday, March 24, 2008

Making Flags

Some have asked me to post a description of how I make flags. It is fairly simple; I use Napflags (primarily), but also I purchase some of them in 25mm and reduce them for 15mm. In doing this, the manufacturer of choice is GMB, but I ALWAYS purchase the GMB flags I want before reproducing them. In other words, I don't replicate purchased flags more than once, and I do NOT condone the absconding of copyrighted material. Don't forget that if it weren't for copyright protection, the wonderful choice of stuff to buy would not likely exist! Napflags offers flag files free of charge, with no restriction on how many one reproduces. Ergo, it is a good practice to donate to the Warflag website (the site Napflags are available from) to keep it up and free. I first open the Napflag JPEG files using the MS Paint program.


In the Paint program, the desired flags are selected and copied to the clipboard. To print the flags, I paste the selected image into MS Word and resize on the page. Resizing can be a challenge, as the size of the image on the screen is NOT necessarily what comes out of the printer (even at "100%" zoom). Trial and error is the only way to get the proper size, but I'd estimate that the flags shown below should be resized to just about 4.5" on the scale at the top of the screen. This produces flags that are just about 16mm in height, which is roughly the size of the British regulation King's and Regimental colors.


The image is then sent to the printer, an HP PSC 750 - by now an antique piece of equipment, but highly effective in making 15mm flags! Once the flags are printed, I find that the printed images need to be coated with a flat lacquer, due to the fact that the ink is water based, and without the lacquer coating, the colors will run when trying to glue and paint them. I like the Armory's matte sealer, which is generally available in hobby stores.

The flags are cut once the sealer is dry, either with a hobby knife or with scissors. The inside of the flag is then painted with white glue, folded around a temporary "pole" (in this case, a piece of brass wire). I usually allow the white glue to set for a little while before making the "waves" by using a small paintbrush handle as a shaping tool.

Once the white glue is dried, all that is left is to paint and fix the flag. I like the Napflag images because the colors are vibrant, and there are files with "texture" embedded into them. I use the "textured" flags because of the variation in color that actually serves to define the features of the flag far better than the non-textured flags. For British flags, I'll start by painting the edges (folding the flag causes the edges to become mis-aligned) with shade colors. The blue is shaded with Vallejo Prussian Blue (#965). The red is shaded with a maroon color - almost any maroon color would work, and in this case, I used one of those cheap bottles available at Wal-Mart, FolkArt True Burgandy (#456). At the same time, I cover any obvious incongruities in the printed color on the flag.

Highlights are then applied - blue highlight color for this flag is Reaper Miniatures Dragon Blue (#18014), and the red highlight is Vallejo Vermillion (#909). The highlights are painted on in a more or less diagonal direction from the inside top of the flagpole to the outside bottom of the flag. White is highlighted with Vallejo White (#951), although almost any white would work. Once the highlights are applied, the painting of the flag is complete, and can be fixed to the figure.

In my opinion, one shouldn't use the cast flagpole that comes with a 15mm figure. The reason is that it is very fragile, and they tend to bend and break when one plays games with them. My solution may be a little counter-intuitive to some - I simply don't use a pole. Instead, I cut the molded pole, remove the flag from the temporary brass pole and super glue the flag to the molded figure.

The last pic shows the figure completed, with the top of the pole glued in where it should be. This should show why 16ga wire makes for the best temporary pole - when the flag is removed, the white glue used to shape the flag also preserves its shape around the wire, which fits perfectly with most molded flagpoles.

Some wonder whether this procedure, which leaves a large part of the flag without an actual pole could possible be robust enough for use on the game table. My experience is that this procedure works exceptionally well; if a figure is dropped or bumbled somehow, one simply needs to straighten the flag, and it looks as good as it did the day you affixed the flag to the figure! Next up will be an article on painting piping and lace.

Sunday, March 16, 2008

Some RHA Pics for fun


These are pics of a recent weekend project to paint some Royal Horse Artillery from the Penninsular era. The figures are AB - quickly assuming an equal plane in my opinion with Old Glory 15s. The differences are sort of a trade-off; the sculpting is exceptional with AB, and the casting is always clean. OG has great energetic poses, and of course, cost a ton less. For most people using the 3 foot rule, OG would be the hands-down winner, but then there are oddballs like myself who like to paint detail that it would be impossible to see at 3 feet, just because a) I'm bored, b) I paint much more than I game, and c) it is always a challenge just to see if you can do it.

The painting procedure is similar to that of the Hussars in a previous post, except that black primer was used instead of white.

Friday, March 09, 2007

Some Skirmish Pics For Fun


Here are some skirmish pics of some of my 15mm figs in action.

Friday, January 26, 2007

Basing the Hussars


Well . . . after an incredibly long hiatus, I'm back with the promised article on basing the Hussars. This technique was detailed by reigning 15mm expert Ian Marsh on the Wargames Journal website. I've modified it slightly, but I like the effect, so here it is.

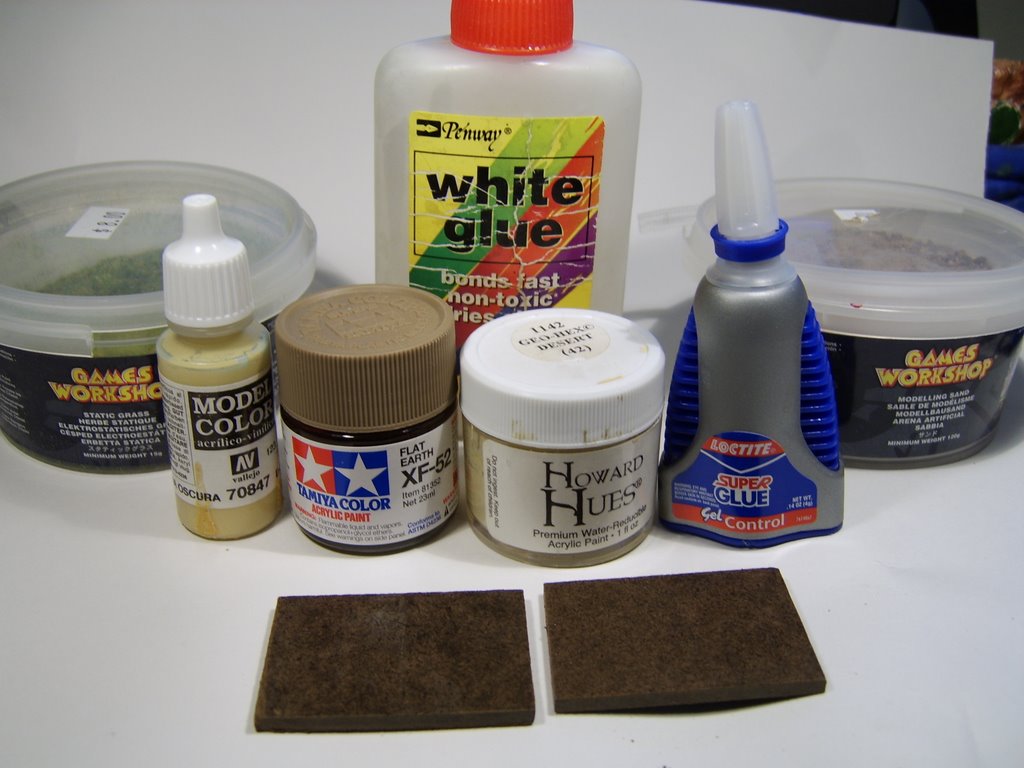
The materials used for this project include white glue, super glue, Games Workshop Modeling Sand, Games Workshop Static Grass (no - I'm not a devotee of GW, I just like the color of the static grass, plus the sand doesn't have any "impurities" in it), acrylic paint, and bases that I purchased from RenaissanceInk.com. These bases are made from masonite, are highly durable, and don't warp over time.

The first step is to super-glue 1/2 of the figures to the cavalry bases. Once the glue is dry, white glue is diluted with water and painted onto the exposed surface of the base. The base is then dunked in the GW modeling sand and left to dry. I do 1/2 of a stand at a time because trying to get in between the horses with a brush big enough to paint glue onto the base is challenging to say the least.

Next, the other figures are super-glued to the base and allowed to dry. Once the super-glue is dry, the remaining exposed base is painted with diluted white glue and dunked in the modeling sand. The stands are allowed to dry for quite a while (these were left overnight) before anything else was done.

The next step is to find any obvious bare spots on the stands, cover the bare spots with diluted white glue, and re-dunk in the modeling sand.

Once the sand and white glue are dried, the whole stand is painted with a slightly diluted coat of Tamiya's acrylic Flat Earth (XF-52). Once that is dry, a light drybrushing of a sand color is applied (here it is Ceramcoat Maple Sugar Tan). When this is dry, a very light drybrush of a light desert color is applied (here it is Howard Hues Geo-Hex Desert).

The final step is to randomly apply spots of diluted white glue to the base and dunk it in the static grass.

After this is done, I add the cavalry standard, and the regiment is done. The final picture is one of the Hussars in a Shako British Light Cavalry division.

Friday, August 25, 2006


Wow. I have now committed a real faux-pas in the blogging world and didn't realize it. I got busy with work, and neglected to post for a while - sorry guys. I'll post some pics of Spanish and Portuguese for the time being, and create my "basing hussars" article soon.

Sunday, July 30, 2006

British Hussars, Step-by-Step


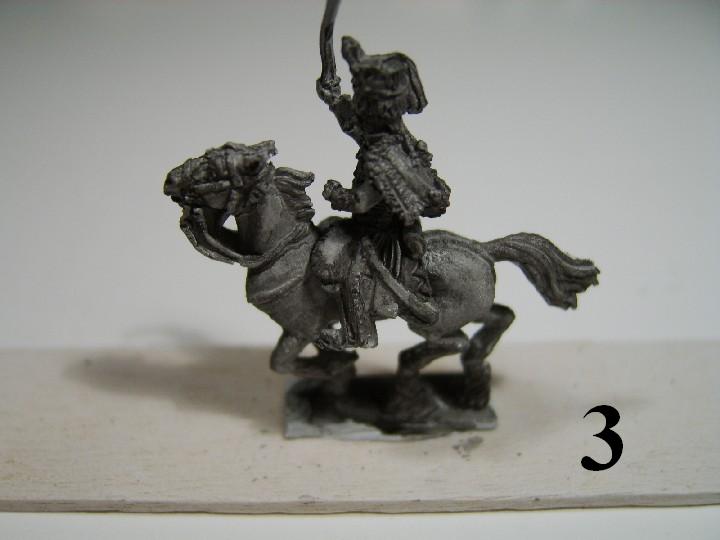
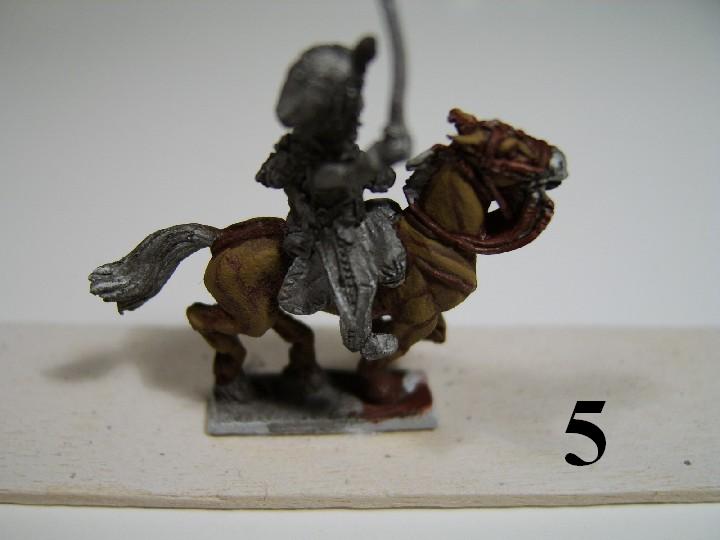
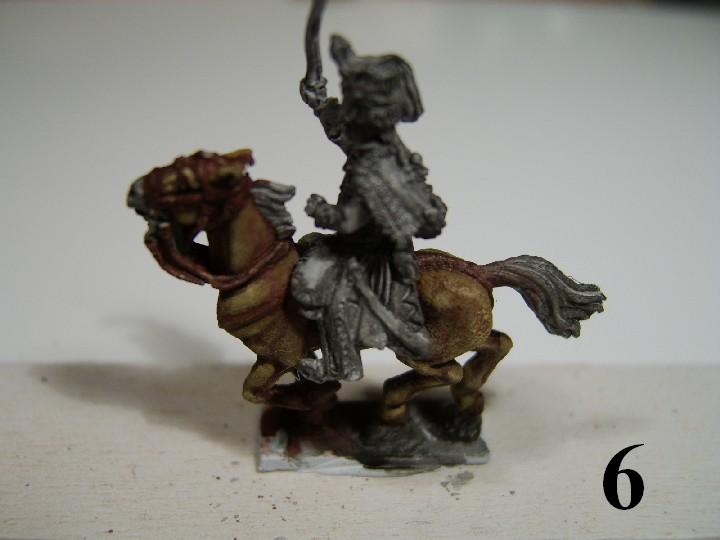
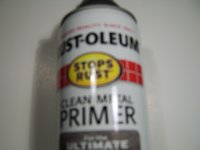
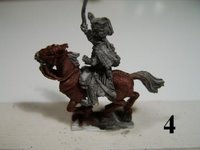
To start, I glue the Hussars to their mounts, as with the Spanish figures (image 1). Next, they are glued to popsicle sticks and undercoated with a primer one could get from any auto parts store. Here I have a picture of Rust-oleum white primer, which I used for the British Hussar figures that have been pictured so far. The nice feature of this brand is that it takes washes and dry-brushing exceptionally well, due to its dried texture. For the white undercoat technique, I allow the primer to dry, and then apply a wash that is a mix of brown and black, per the Paintfront technique (please see the first pictured post for the URL) - images 2 & 3. Next, I paint the horses, darker shade colors first (image 4). The first color I apply is something akin to Reaper Aged Brick #19048. This is applied somewhat thinned, with the brush of a #1 size dipped in water just before the paint, and then applied to the figure. About 2/3 of the horses are painted like this, others with a lighter base and some with black.

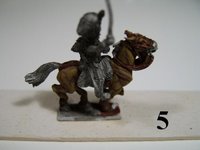
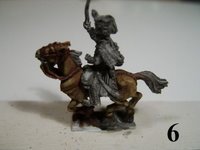
After the first color is dry, even with horse figures, I only apply 1 or maybe 2 highlights (at the max). One highlight color for the horses with the Aged Brick base color is Reaper Woodland Brown #18024. One can mess with numerous shades both lighter and darker – it really doesn’t matter, since any army of that period mixed horseflesh in its cavalry units out of pure necessity (images 5 & 6).

To make a Palomino horse, a base color of a Maple shade would be good, with a highlight of a light tan. Black horses are highlighted with a dark gray, such as Valejo #994.

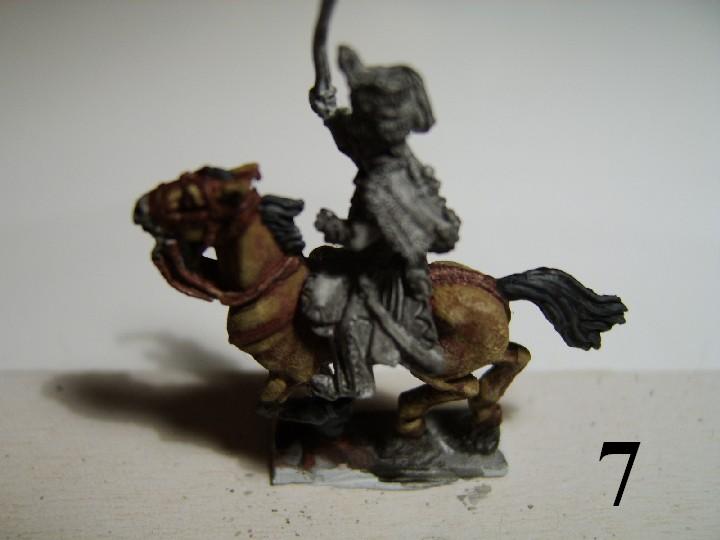
Manes and tails are another matter; I prefer predominantly black, but white, tan, or any variety of the bunch would do. For white manes and tails, I apply a base of a medium gray (Reaper “Granite”) highlighted with white. Black manes are highlighted as with the black horses, and tan highlighted with something considerably lighter, like a Maple color. This horse has a black mane and tail (image 7).

I’ve read, primarily from the legendary painter Ian Marsh, that horses sometimes have “socks.” To paint these, I thin black paint, and paint all the way from the knee down to the hoof, and repeat as necessary to obtain a graduated appearance from the color of the upper part of the horse to black at the hooves. Then, I highlight the black as noted above, and directly proceed to undercoat the white part with a medium gray, about ¼ of the way between the hoof and the knee. This is then highlighted in white, giving the appearance of “white socks” on the horse. I have it on some authority that these “socks” are usually seen in pairs, though I can’t verify that.

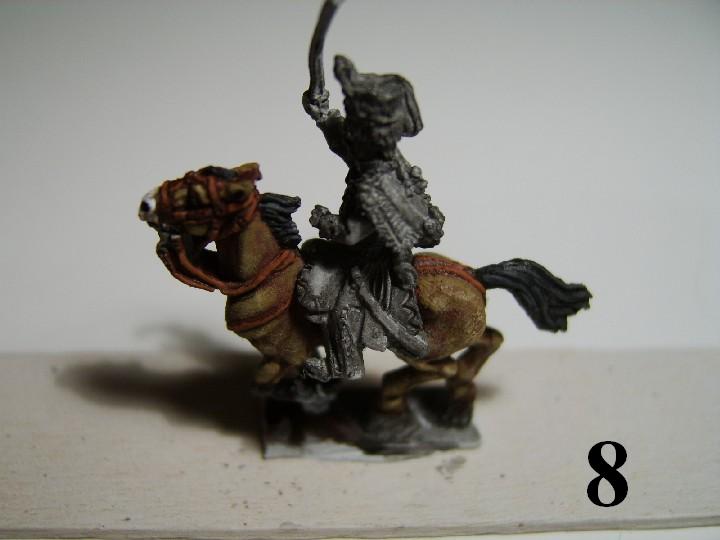
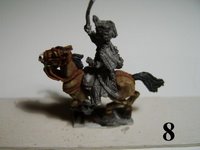
The muzzles are fun to paint – for white muzzles, I basecoat with a flesh color, like one would use for a man’s face. I then highlight with white, which gives a pretty good sense of a white muzzled horse (image 8). For flesh colored muzzles, I basecoat with maroon and then highlight with flesh.

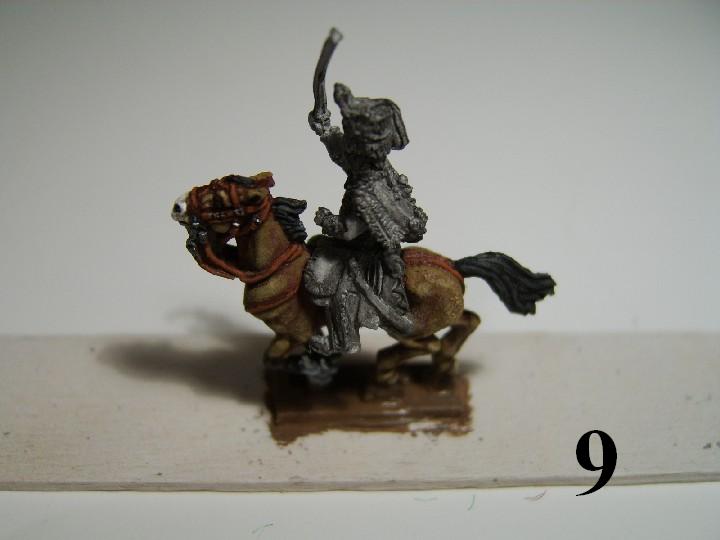
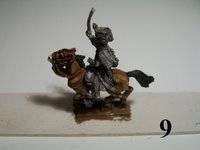
The leather harness could be painted any color. Black is a good choice, but I also like to leave the horse’s base color on the harness and highlight with a military leather color (e.g., Valejo #818). Final touches include adding a silver color to the bit and buckles on the bridle (image 9).

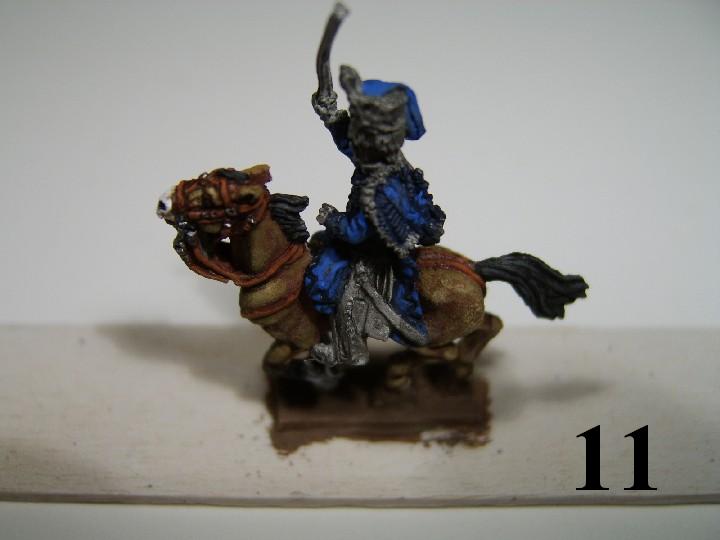
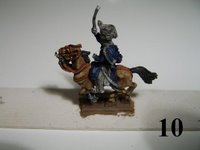
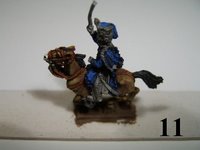
After the horses are complete, I start on the troopers. I chose to apply shade color to the predominant color of the figure, which is a Navy blue (image 10). This is then highlighted with a medium blue, which also serves as the shade color for the bag on the busbie (image 11).

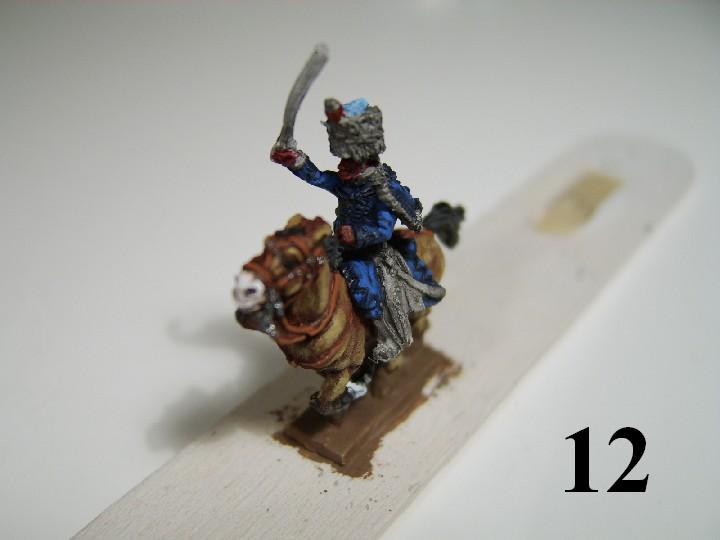
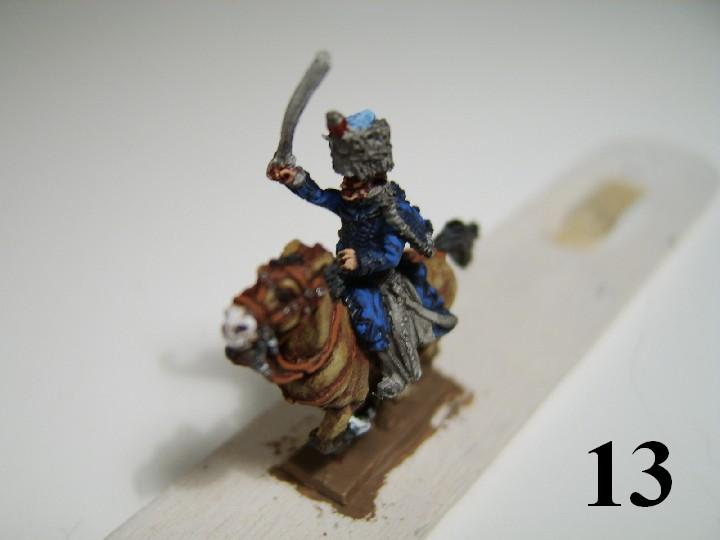
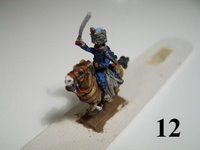
Next, the face, hands, and bottom of the pom-pom are shade colored maroon (image 12). Flesh colored paint is carefully applied to the raised flesh surfaces, namely the nose, cheeks, chin, and fingers (image 13).

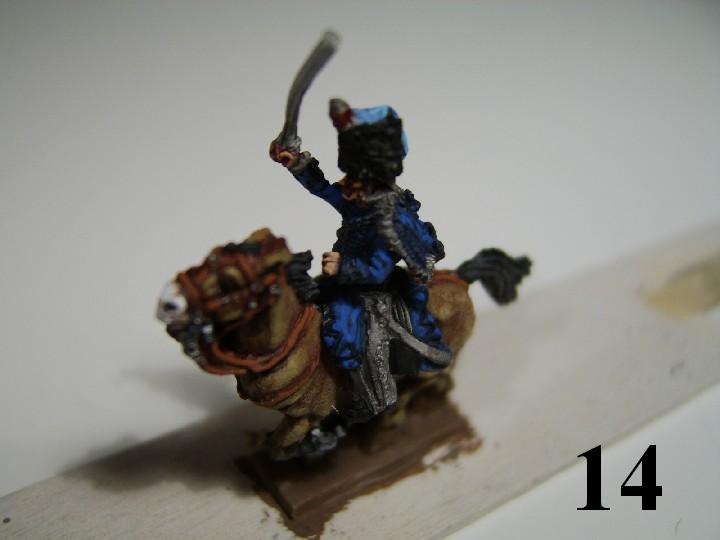
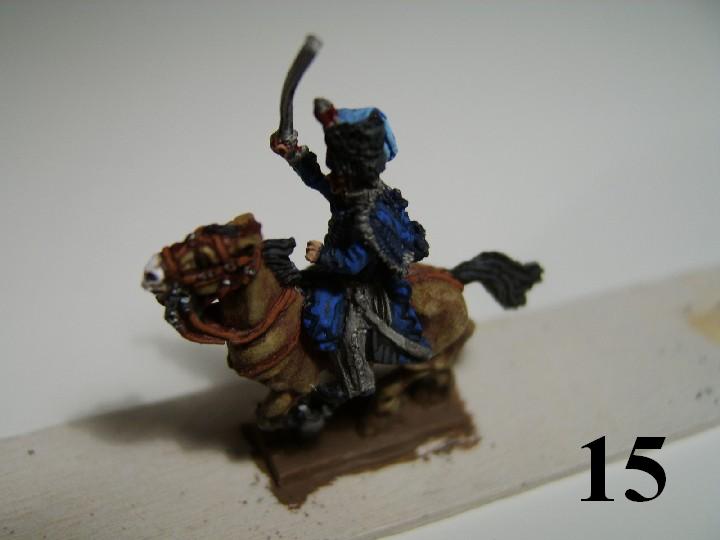
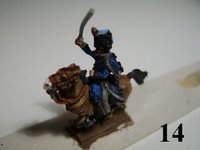
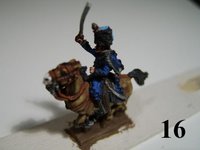
Black items are then painted, including the busbie, sabretache, boots, etc. (image 14), and then highlighted with dark gray (image 15). The same shade of dark gray is used to shade the overalls (image 16). The side stripes of leather are shaded a dark brown, as is the hair and all gold features.

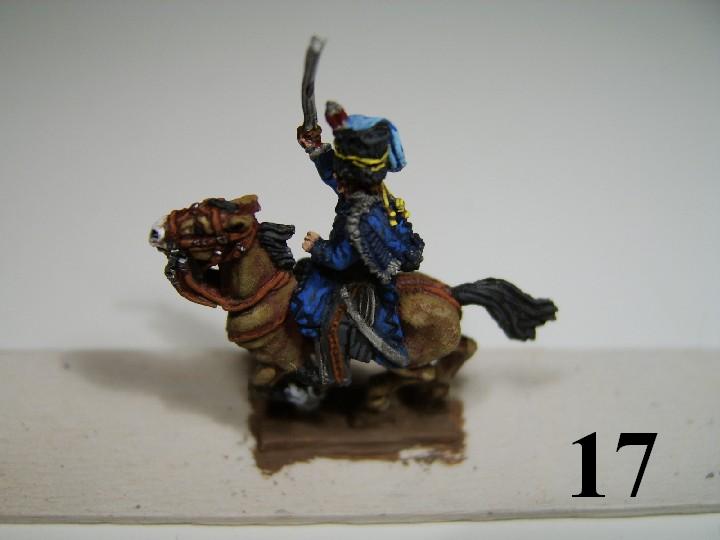
Light brown is applied as a shade color to the only yellow feature on the figure, the busbie cord, then highlighted with yellow (image 17). This same light brown highlights the hair, while white areas, including the fur on the pelisse are shaded with a medium gray.
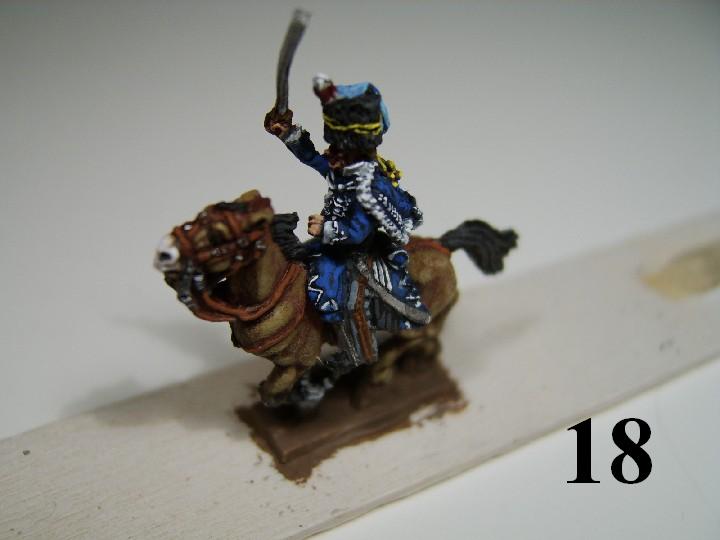
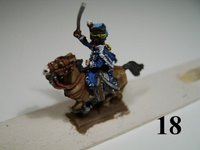
White areas are highlighted next. There is no dark, dirty secret to painting intricate details like the lace and piping. The key is to get a really small brush with a really sharp point, and also to choose your figures judiciously. Details like this can be painted much more easily when they are sculpted well – that is to say that piping and lace are raised. This is why I like Old Glory figures – they are easy to paint in this respect. AB are also excellent figures. The very tip of the brush should have a very small dab of paint on it, and ride along the raised piping and lace features (image 18). One dirty dark secret to details like this, is that if you muff it up on your first try (as I did with this figure), you can always apply a very small wash of the jacket’s shade color (Navy blue), which will collect in the recesses, and you can re-touch the lace. The same technique is used for the vandykes, which I have elected to be outlined, rather than solid white.

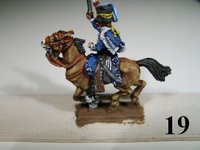
Next, the leather side stripes are highlighted with the red leather color, and silver articles are shaded with Reaper Gun Metal #08111. This gunmetal color is also used for the buttons on the overalls (image 19).

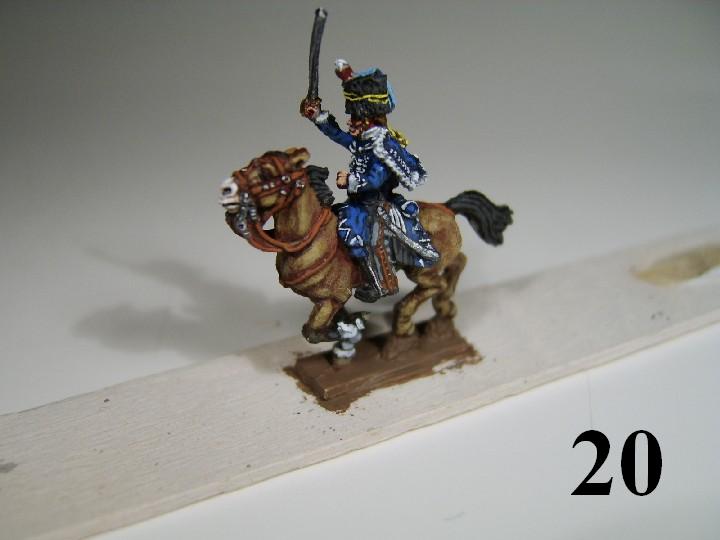
Finally, the silver and gold features are highlighted with their respective metallic colors, including the flint and lock on the carbine, trigger guard, sword, hilt, stirrups, etc. And voila! The figure is finished (image 20).

Next up: basing the Hussars.