


Well . . . after an incredibly long hiatus, I'm back with the promised article on basing the Hussars. This technique was detailed by reigning 15mm expert Ian Marsh on the Wargames Journal website. I've modified it slightly, but I like the effect, so here it is.
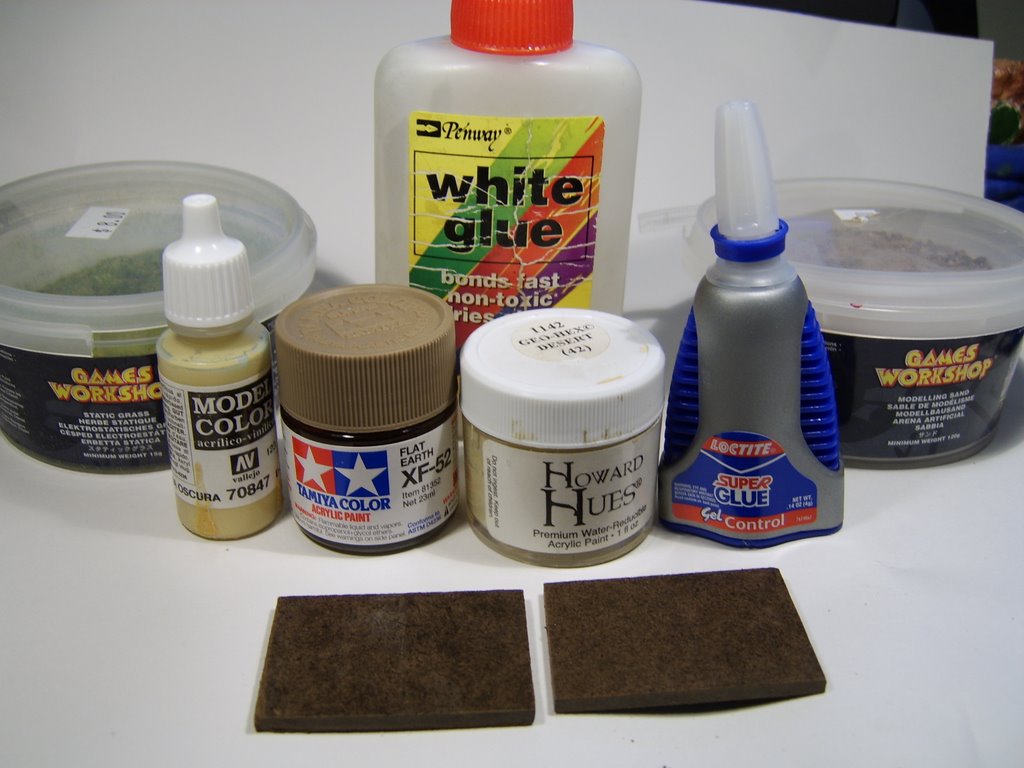
The materials used for this project include white glue, super glue, Games Workshop Modeling Sand, Games Workshop Static Grass (no - I'm not a devotee of GW, I just like the color of the static grass, plus the sand doesn't have any "impurities" in it), acrylic paint, and bases that I purchased from RenaissanceInk.com. These bases are made from masonite, are highly durable, and don't warp over time.
The first step is to super-glue 1/2 of the figures to the cavalry bases. Once the glue is dry, white glue is diluted with water and painted onto the exposed surface of the base. The base is then dunked in the GW modeling sand and left to dry. I do 1/2 of a stand at a time because trying to get in between the horses with a brush big enough to paint glue onto the base is challenging to say the least.
Next, the other figures are super-glued to the base and allowed to dry. Once the super-glue is dry, the remaining exposed base is painted with diluted white glue and dunked in the modeling sand. The stands are allowed to dry for quite a while (these were left overnight) before anything else was done.
The next step is to find any obvious bare spots on the stands, cover the bare spots with diluted white glue, and re-dunk in the modeling sand.
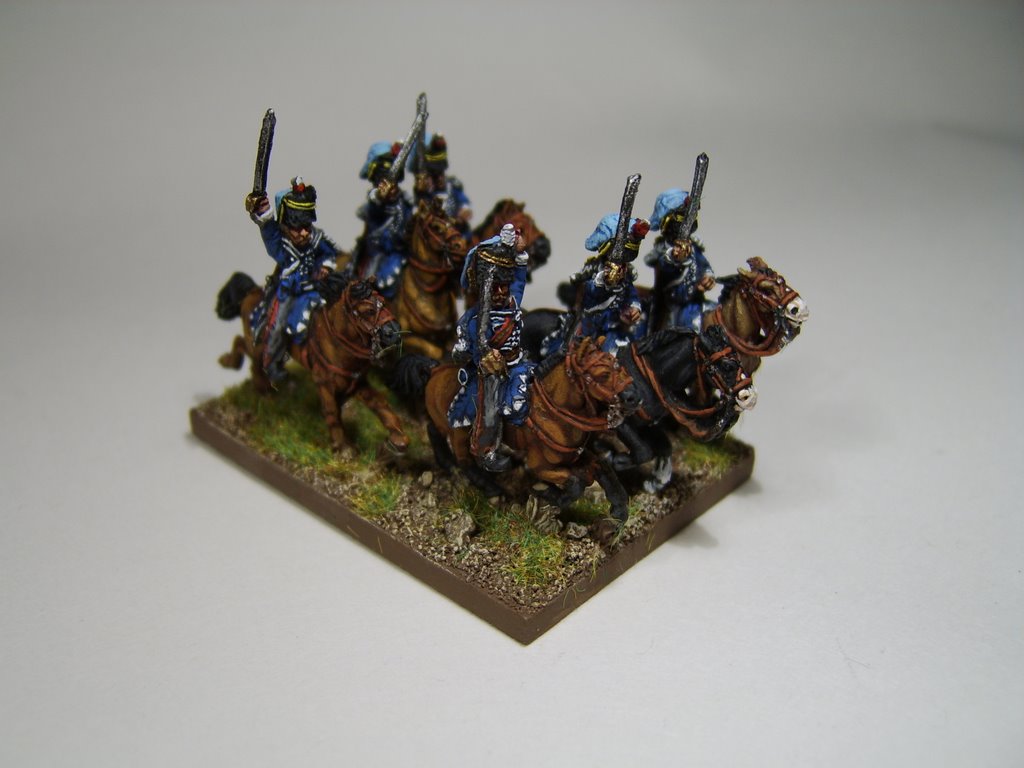
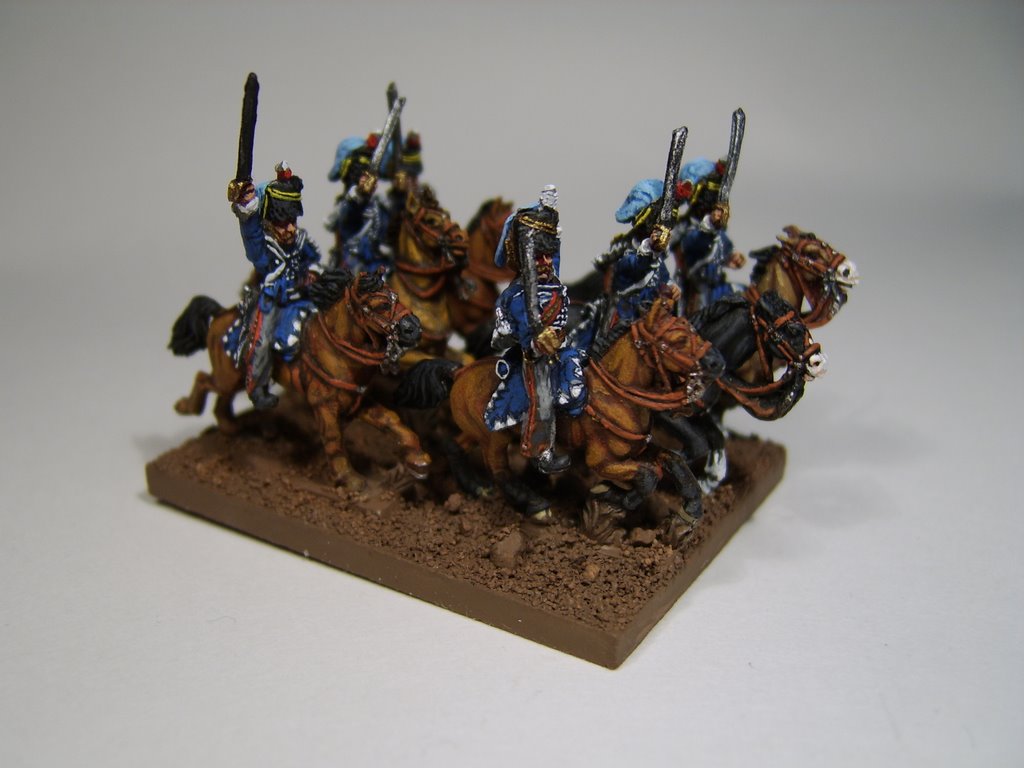
Once the sand and white glue are dried, the whole stand is painted with a slightly diluted coat of Tamiya's acrylic Flat Earth (XF-52). Once that is dry, a light drybrushing of a sand color is applied (here it is Ceramcoat Maple Sugar Tan). When this is dry, a very light drybrush of a light desert color is applied (here it is Howard Hues Geo-Hex Desert).
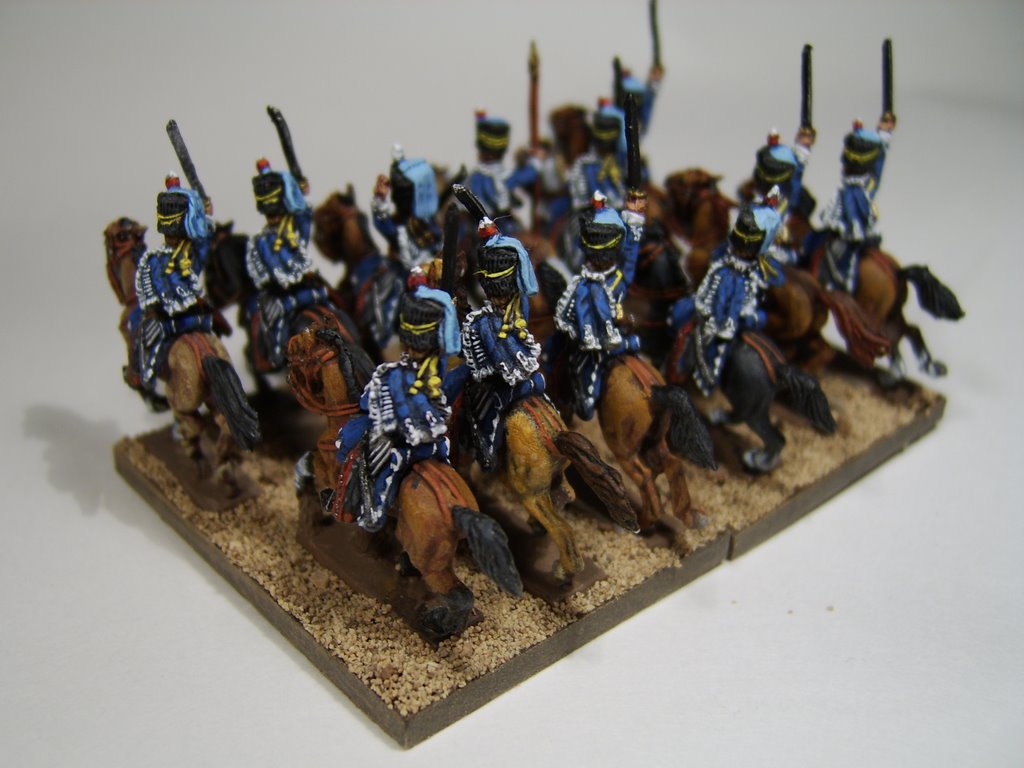
The final step is to randomly apply spots of diluted white glue to the base and dunk it in the static grass.
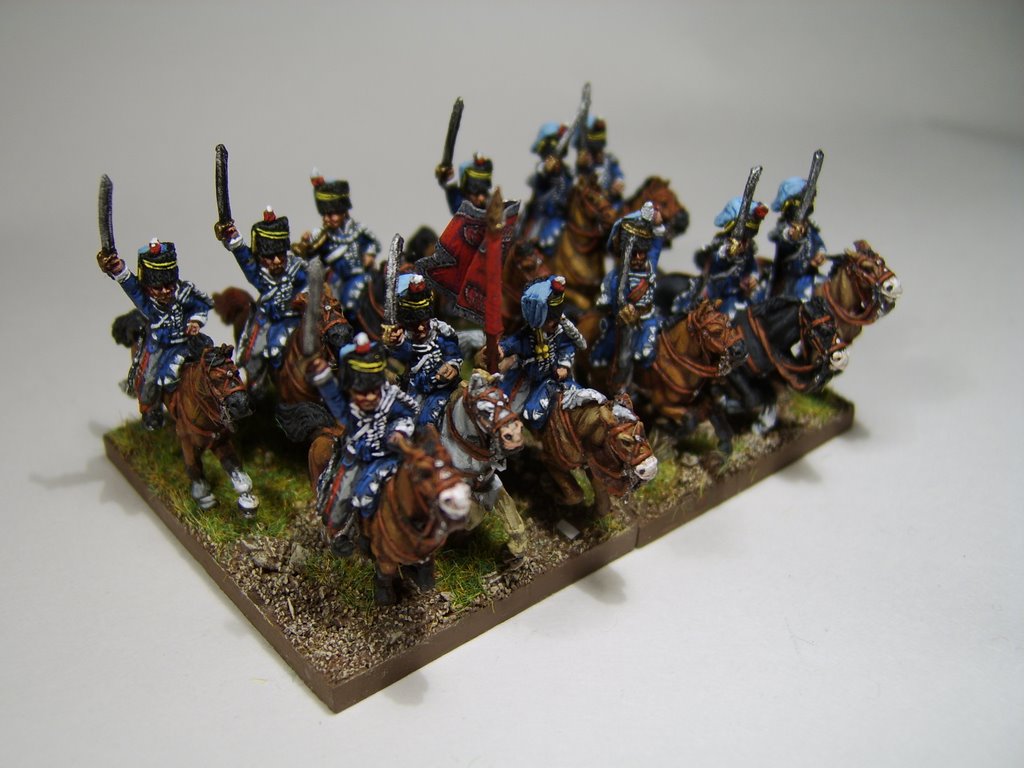
After this is done, I add the cavalry standard, and the regiment is done. The final picture is one of the Hussars in a Shako British Light Cavalry division.

4 comments:
Hip Hip...Waaaaahhhh!!
Hip Hip...Waaaaahhhh!!
Hip Hip...Waaaaahhhh!!
Three hearty cheers from my long-ago days in the Fort Henry Guard in Kingston.
Glad you're back.
Now I guess I should update my own terribly un-updated blog.
The look of the RI masonite bases is pretty sharp; I've been experimenting with basswood, and have thought of going to Litko...but the way these stands of Hussars look, I might try the RI.
Thanks,
Geoff H
Thanks Geoff
I've tried cardboard, balsa, and other stuff, but so far I like the Masonite best.
I'm working on some French either Legere or Dragoons from AB for my next posting. BTW, what's your blog URL?
Nevermind. I'm a blogging newbie, so it took a while to catch on, but I found your blog after not much trouble at all. Nice stuff!
Take care, talk/post soon.
I love the effect. I notice you mention Ceramcoat Maple Sugar Tan but in the photo of your materials you've got a bottle Vallejo 70847 Dark Sand instead ... bit puzzled.
Post a Comment