

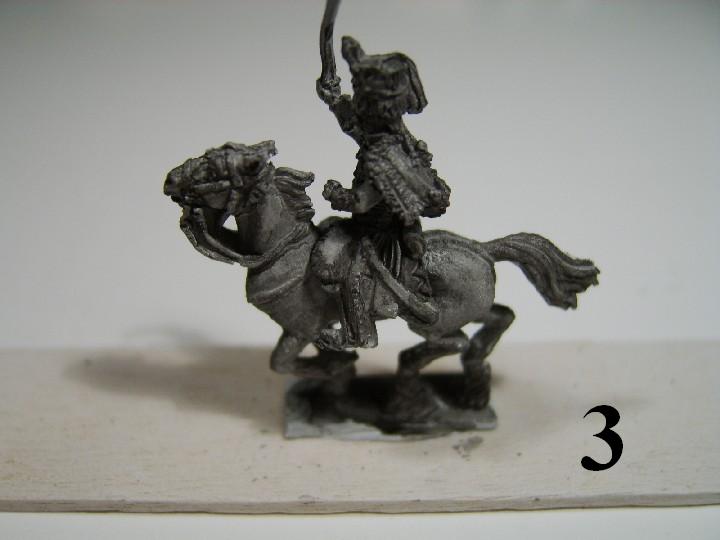


To start, I glue the Hussars to their mounts, as with the Spanish figures (image 1). Next, they are glued to popsicle sticks and undercoated with a primer one could get from any auto parts store. Here I have a picture of Rust-oleum white primer, which I used for the British Hussar figures that have been pictured so far. The nice feature of this brand is that it takes washes and dry-brushing exceptionally well, due to its dried texture. For the white undercoat technique, I allow the primer to dry, and then apply a wash that is a mix of brown and black, per the Paintfront technique (please see the first pictured post for the URL) - images 2 & 3. Next, I paint the horses, darker shade colors first (image 4). The first color I apply is something akin to Reaper Aged Brick #19048. This is applied somewhat thinned, with the brush of a #1 size dipped in water just before the paint, and then applied to the figure. About 2/3 of the horses are painted like this, others with a lighter base and some with black.
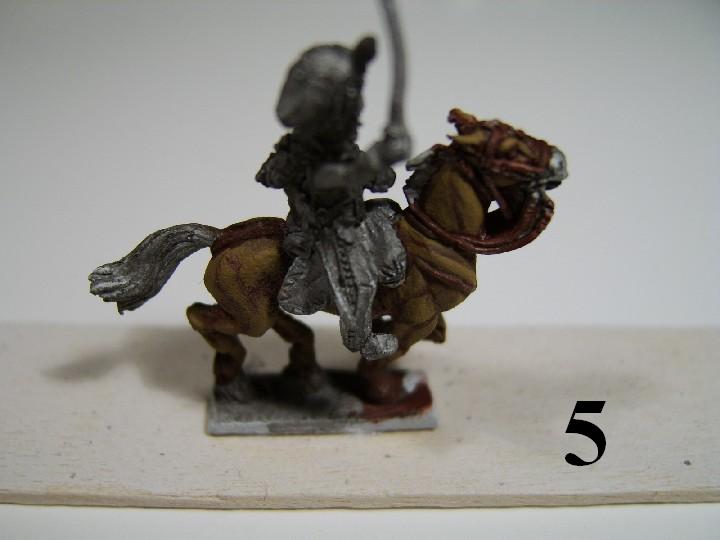
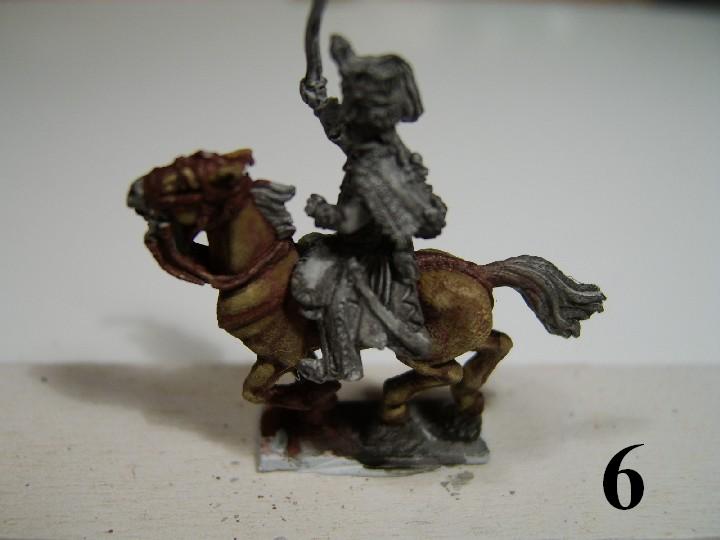
After the first color is dry, even with horse figures, I only apply 1 or maybe 2 highlights (at the max). One highlight color for the horses with the Aged Brick base color is Reaper Woodland Brown #18024. One can mess with numerous shades both lighter and darker – it really doesn’t matter, since any army of that period mixed horseflesh in its cavalry units out of pure necessity (images 5 & 6).
To make a Palomino horse, a base color of a Maple shade would be good, with a highlight of a light tan. Black horses are highlighted with a dark gray, such as Valejo #994.
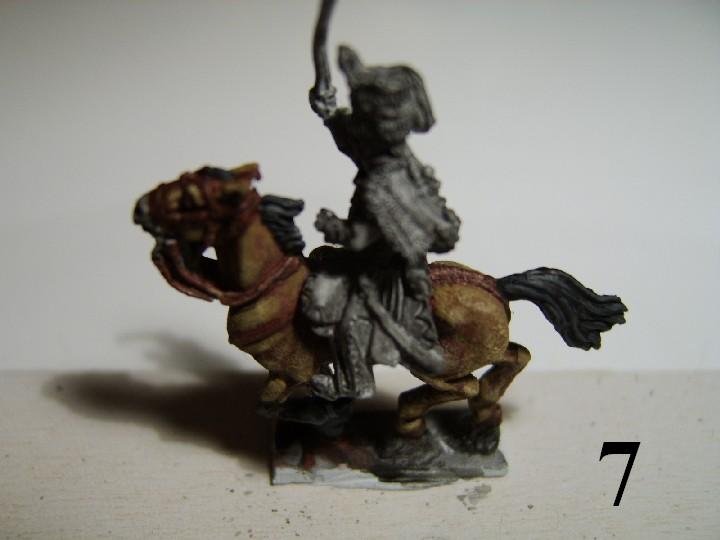
Manes and tails are another matter; I prefer predominantly black, but white, tan, or any variety of the bunch would do. For white manes and tails, I apply a base of a medium gray (Reaper “Granite”) highlighted with white. Black manes are highlighted as with the black horses, and tan highlighted with something considerably lighter, like a Maple color. This horse has a black mane and tail (image 7).
I’ve read, primarily from the legendary painter Ian Marsh, that horses sometimes have “socks.” To paint these, I thin black paint, and paint all the way from the knee down to the hoof, and repeat as necessary to obtain a graduated appearance from the color of the upper part of the horse to black at the hooves. Then, I highlight the black as noted above, and directly proceed to undercoat the white part with a medium gray, about ¼ of the way between the hoof and the knee. This is then highlighted in white, giving the appearance of “white socks” on the horse. I have it on some authority that these “socks” are usually seen in pairs, though I can’t verify that.
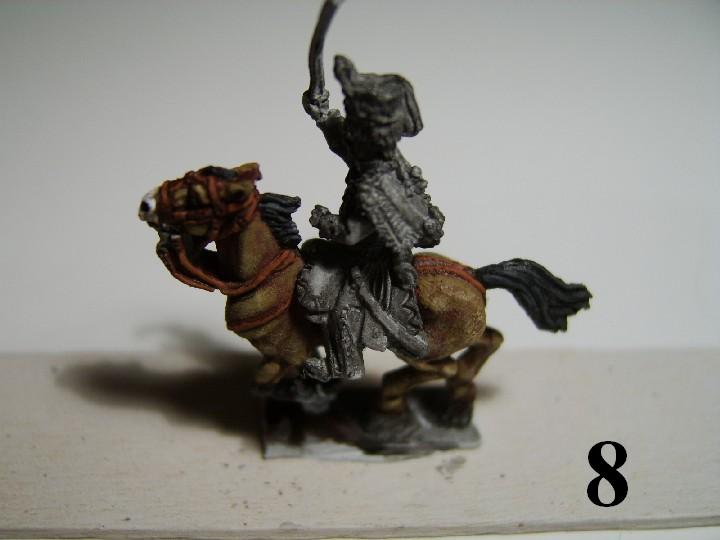
The muzzles are fun to paint – for white muzzles, I basecoat with a flesh color, like one would use for a man’s face. I then highlight with white, which gives a pretty good sense of a white muzzled horse (image 8). For flesh colored muzzles, I basecoat with maroon and then highlight with flesh.
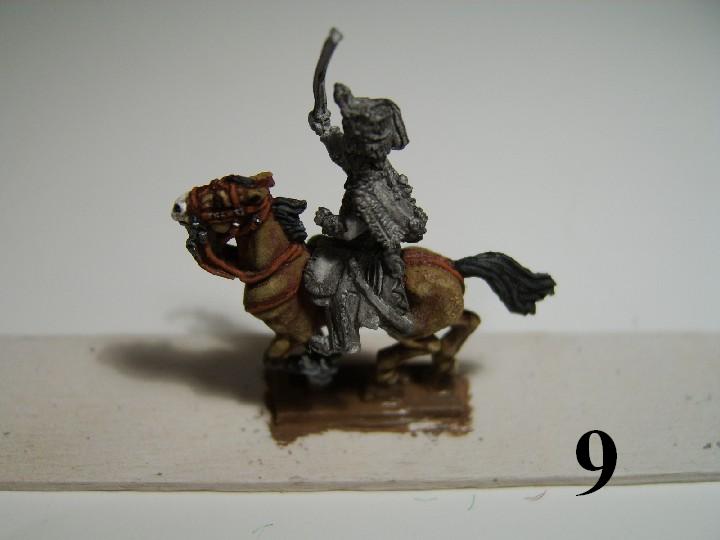
The leather harness could be painted any color. Black is a good choice, but I also like to leave the horse’s base color on the harness and highlight with a military leather color (e.g., Valejo #818). Final touches include adding a silver color to the bit and buckles on the bridle (image 9).
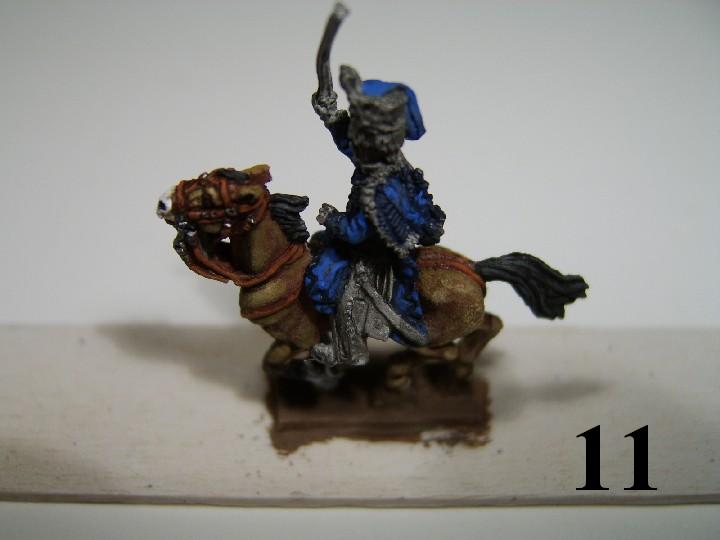
After the horses are complete, I start on the troopers. I chose to apply shade color to the predominant color of the figure, which is a Navy blue (image 10). This is then highlighted with a medium blue, which also serves as the shade color for the bag on the busbie (image 11).
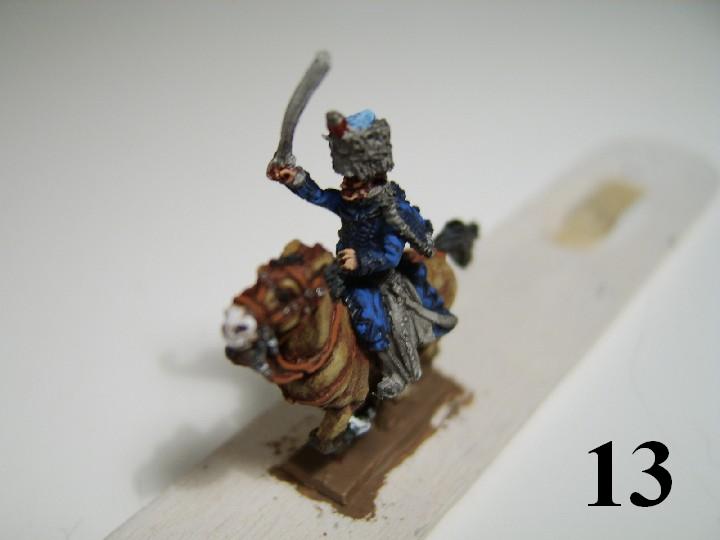
Next, the face, hands, and bottom of the pom-pom are shade colored maroon (image 12). Flesh colored paint is carefully applied to the raised flesh surfaces, namely the nose, cheeks, chin, and fingers (image 13).
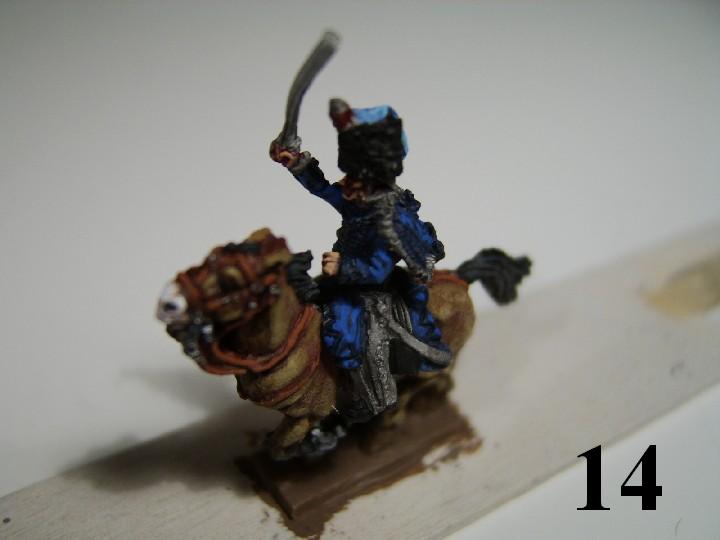
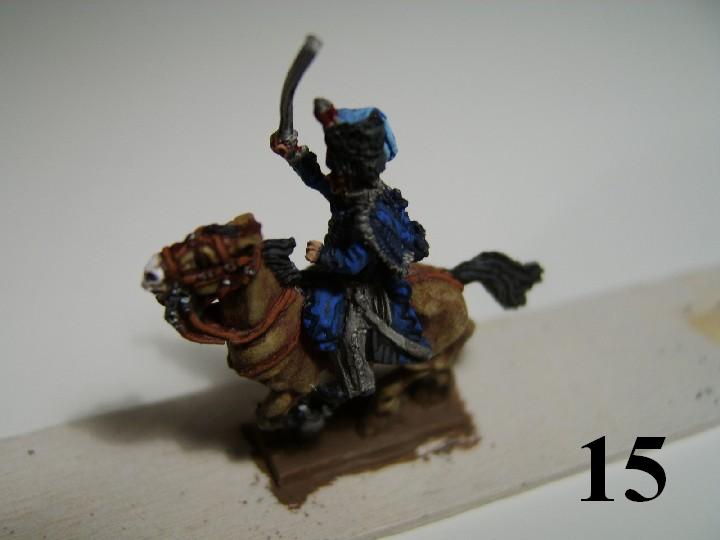
Black items are then painted, including the busbie, sabretache, boots, etc. (image 14), and then highlighted with dark gray (image 15). The same shade of dark gray is used to shade the overalls (image 16). The side stripes of leather are shaded a dark brown, as is the hair and all gold features.
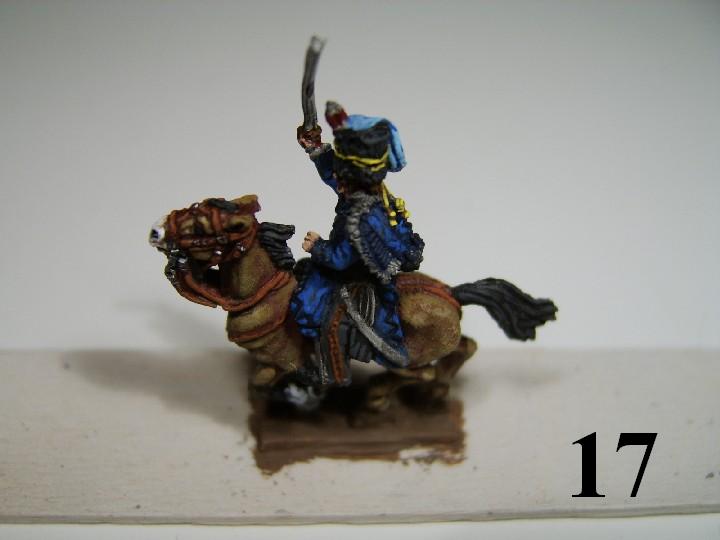
Light brown is applied as a shade color to the only yellow feature on the figure, the busbie cord, then highlighted with yellow (image 17). This same light brown highlights the hair, while white areas, including the fur on the pelisse are shaded with a medium gray.
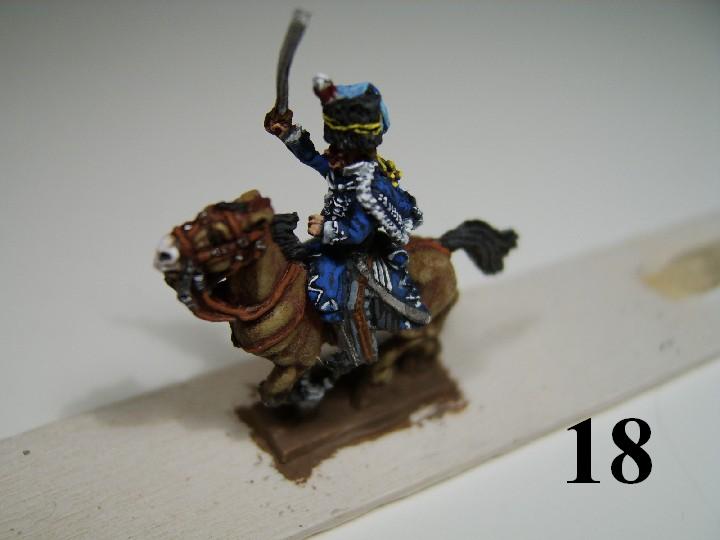
White areas are highlighted next. There is no dark, dirty secret to painting intricate details like the lace and piping. The key is to get a really small brush with a really sharp point, and also to choose your figures judiciously. Details like this can be painted much more easily when they are sculpted well – that is to say that piping and lace are raised. This is why I like Old Glory figures – they are easy to paint in this respect. AB are also excellent figures. The very tip of the brush should have a very small dab of paint on it, and ride along the raised piping and lace features (image 18). One dirty dark secret to details like this, is that if you muff it up on your first try (as I did with this figure), you can always apply a very small wash of the jacket’s shade color (Navy blue), which will collect in the recesses, and you can re-touch the lace. The same technique is used for the vandykes, which I have elected to be outlined, rather than solid white.
Next, the leather side stripes are highlighted with the red leather color, and silver articles are shaded with Reaper Gun Metal #08111. This gunmetal color is also used for the buttons on the overalls (image 19).
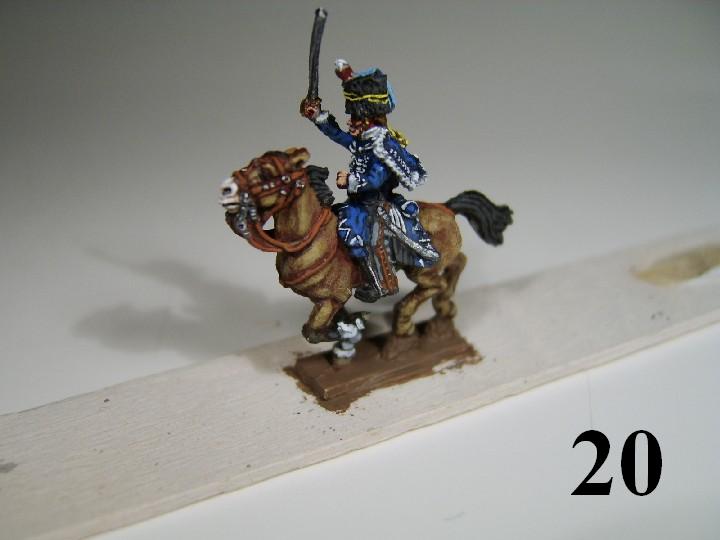
Finally, the silver and gold features are highlighted with their respective metallic colors, including the flint and lock on the carbine, trigger guard, sword, hilt, stirrups, etc. And voila! The figure is finished (image 20).
Next up: basing the Hussars.

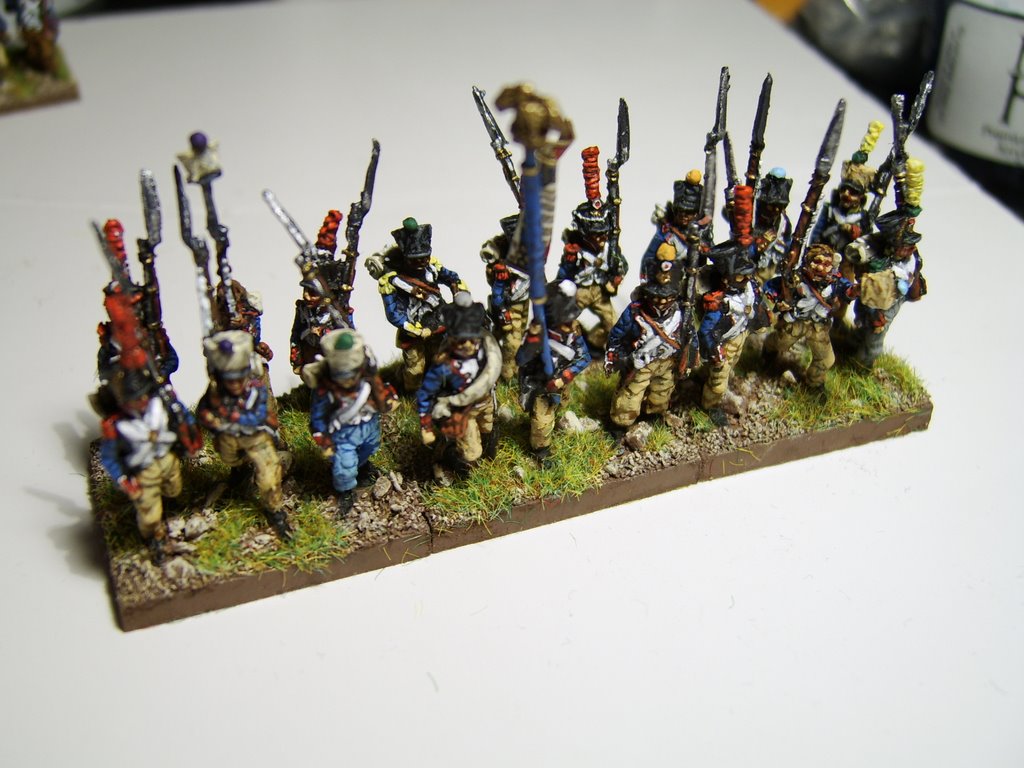
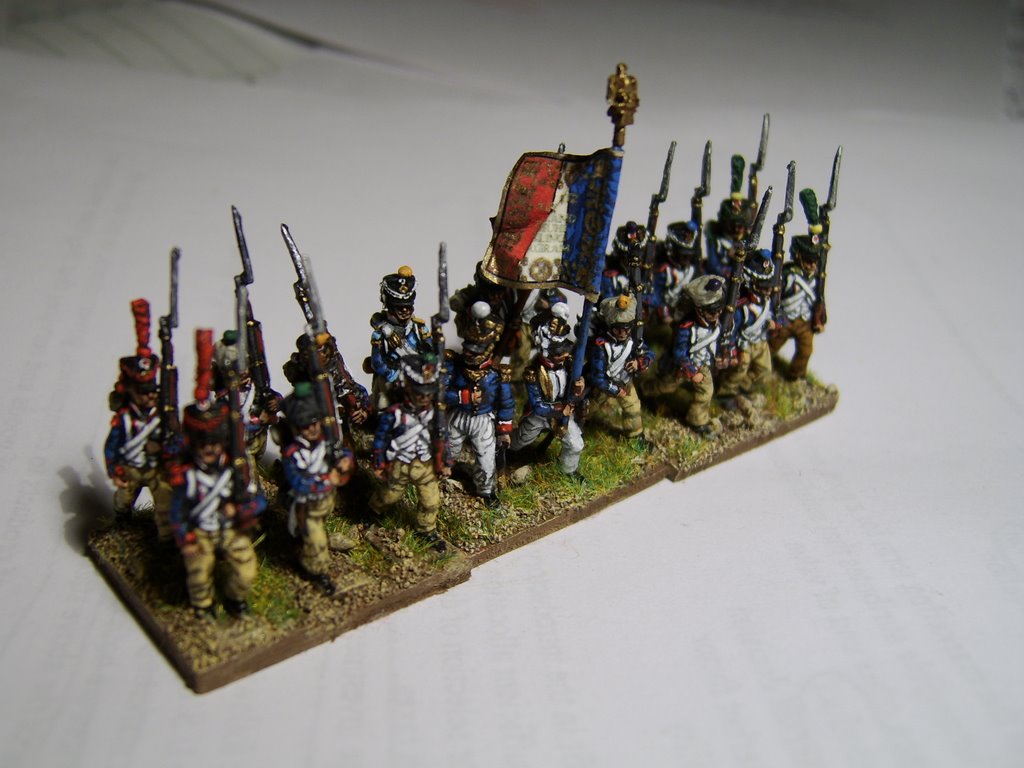

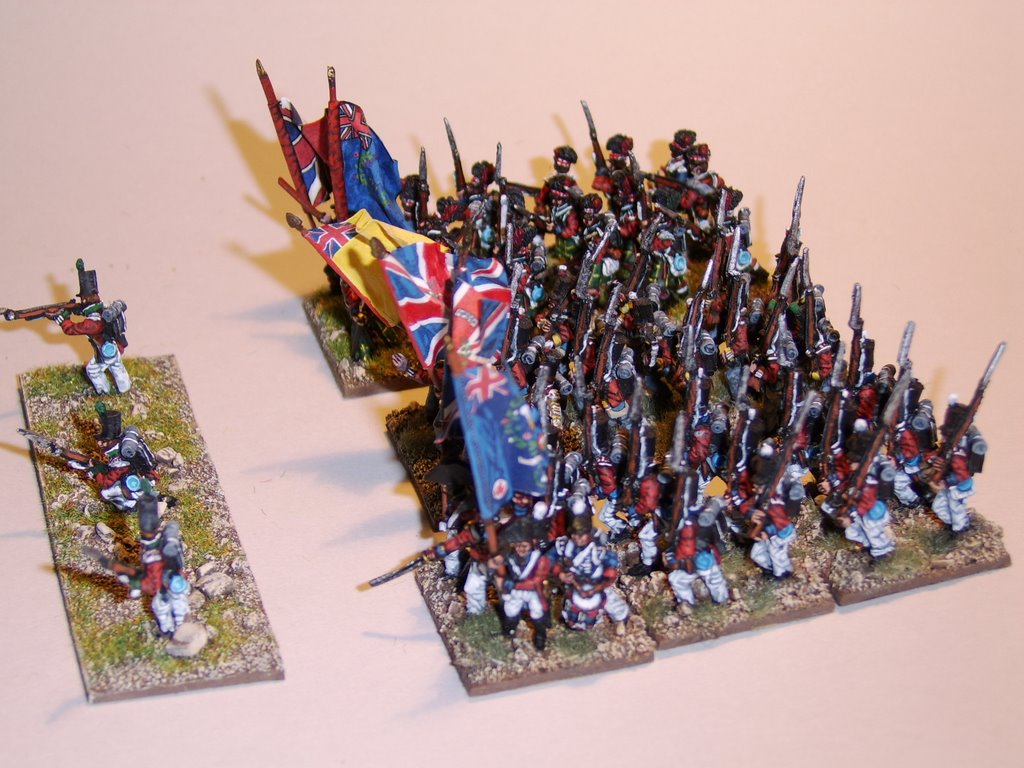
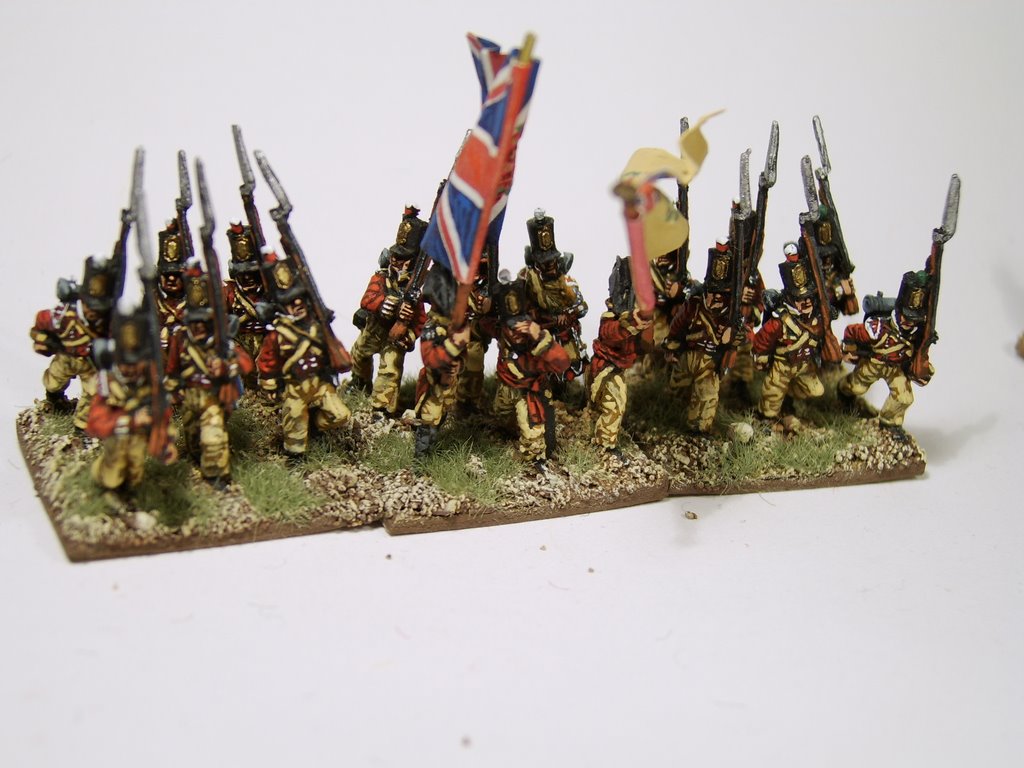


 O.k., this is my first blog attempt, so if it seems inept, that would be because I am inept at blogging. In this blog, I will post pics and procedures for painting 15mm wargaming miniatures. My current project is armies of the Napoleonic Iberian Penninsula campaign, which include French, Spanish, Portuguese, and British troops.